

Registration
Each of the different registration steps in Freja has its own section below. Check the section that is relevant to you.
Freja Registered with E-mail
Freja Verified with ID Document
Because Freja will become your digital document, your photo needs to be appropriate. Make sure that your face is clearly visible, just like for any ID photo.
You can try as many times as you like if you are not happy with your final photo.
How to take a proper photo
Here are some tips for taking a photo for Freja
- Make sure that the lighting is good
- Make sure that your face is clearly visible
- Stand in front of a white background
- Take off any hats or other headgear (religious clothing such as a hijab is fine)
- Please take off your sunglasses

Frequent questions we get about the photo in Freja:
Can I change my photo in the future?
Yes, you won’t be stuck with the same photo if you’re not happy with it.
To change it, go to Settings > Manage Account > Change Photo.
- your biometric passport, or
- your national ID card if you are a citizen of an EU/EEA country (except for Denmark and Iceland).
Note: biometric ID = contains an embedded NFC chip.
Registering your biometric ID in Freja is made up of 2 steps:
- Scanning the photo page of the biometric ID with the phone’s camera
- Reading the NFC chip in it with your phone’s NFC reader
For a smooth scan, here’s how to prepare:
- Read the on-screen instructions carefully
- Ensure you are in a brightly-lit room
- Tap ‘Start’ when ready
- You may need to allow Freja to access your camera
IMPORTANT! If you are using a biometric passport, remove any covers from it as they can interfere with the scan.
- Place your ID so it fits in the frame
- Press the button when you are ready to scan
NFC Chip Reading
On iPhones:
- Place your card on a flat surface and hold it in place
- Press the ‘Start’ button to begin;
- Place the top of your phone on the bottom half of the card
- The scan will begin, do not touch anything and let it finish
On Android:
- Place your card on a flat surface and hold it in place
- Press the ‘Start’ button to begin
- Place the top of your phone on the bottom half of the card
- Wait for the scan to begin, then hold still until it is complete
- If nothing happens, slowly pull your device upwards to capture the signal
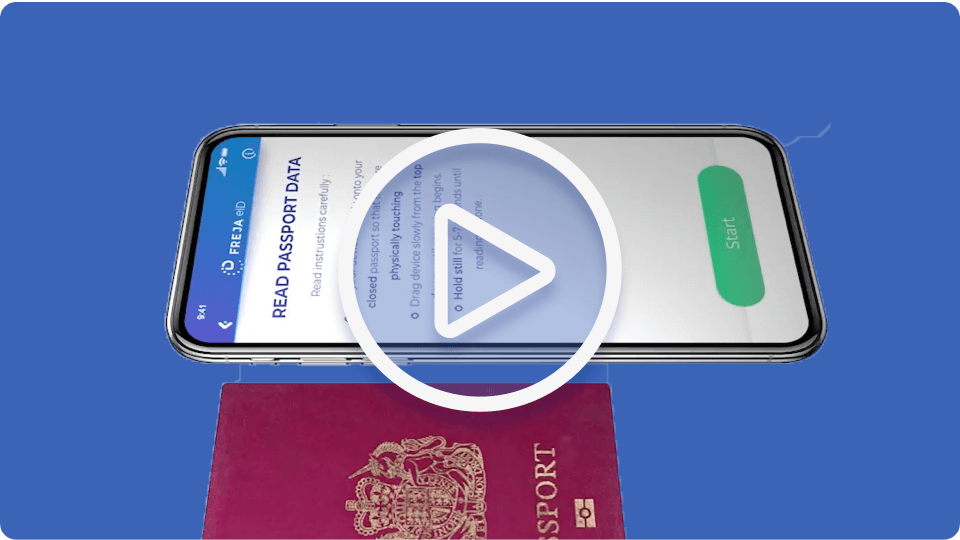
First scan of your biometric passport with your phone’s camera:
- Open your passport to the page with your photo and personal information
- Place your open passport on a solid surface and hold it open
- Fit the shape of your passport into the frame in the app. There are smaller indicators that will help you fit your passport into the frame
- Make sure you’re not covering your photo or other important information with your fingers
If you have difficulties during this step, you may enter your passport data manually.
This works when your phone’s NFC reader and the chip in your biometric passport communicate with each other. For this to happen, your phone and passport must be in close physical proximity.
To read your passport’s NFC chip:
- Tap the ‘Start’ button to begin the process.
- Place your phone directly on the closed passport.
- Wait for the scan to start and hold the device still until it is complete.
- If nothing happens, slowly move the phone around to catch the signal.
IMPORTANT! Your phone’s NFC reader may not be located at the top of the device, as shown in the video. If a connection cannot be established, it may take several attempts to align your phone and passport so that the reading works.
Check that all of the data is correctNow you can double check that all of your personal data checks out.
If anything is wrong, you can correct it.
Final security check
We need to make sure that you are actively choosing to get Freja.
This takes only a few moments.
After making sure your photo is good enough, and your ID document data is in Freja, send your data to us for verification to complete this step.
Our security team performs checks on weekdays between 08-22 CET, and on weekends at a reduced rate. So please keep in mind that if you apply in the middle of the night we might not be able to verify your identity immediately.
You will receive a a notification in Freja once the check has been completed.