

The Most Common Mistakes
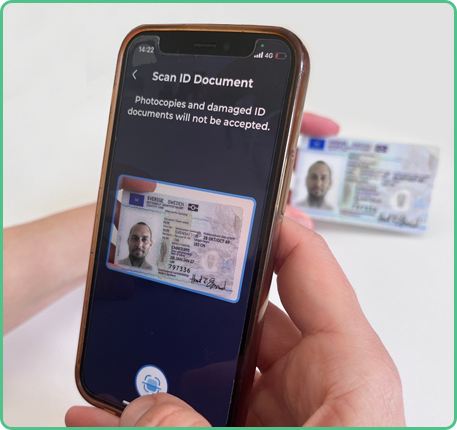
The photo of your ID was unclear

Activity check problems
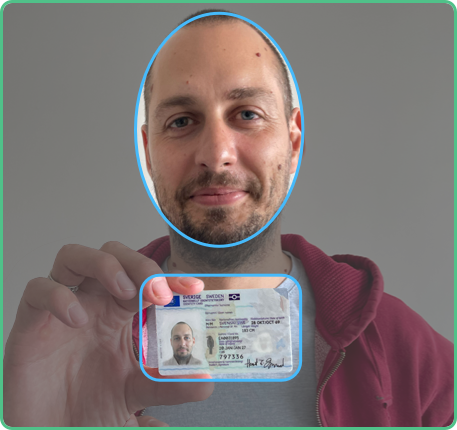
The photo of yourself was unclear
The Photo of Your ID Was Unclear
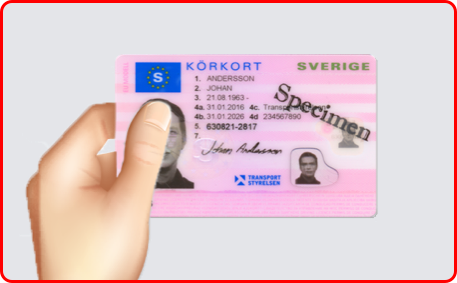
Do not cover anything on your document with your hand

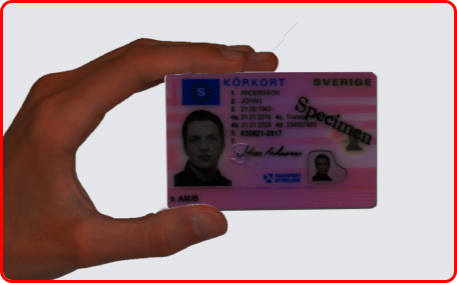
No glare allowed
Photos that are too dark are not allowed
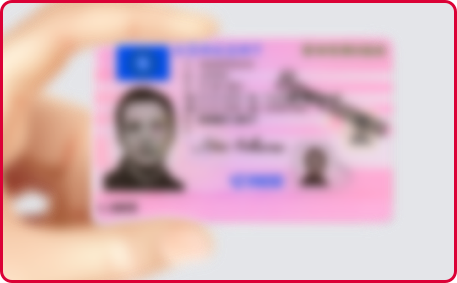
Blurry photos are not allowed
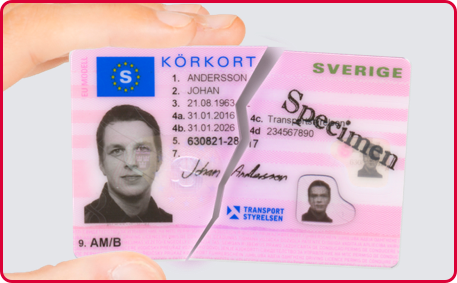
Damaged ID documents are not allowed
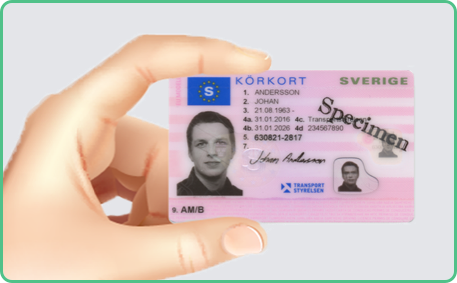
This is the correct way of doing it.
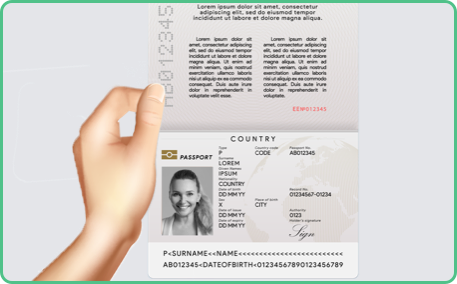
Do not cover anything on your document with your hand
No glare allowed
Photos that are too dark are not allowed
Blurry photos are not allowed
Damaged ID documents are not allowed
This is the correct way of doing it.
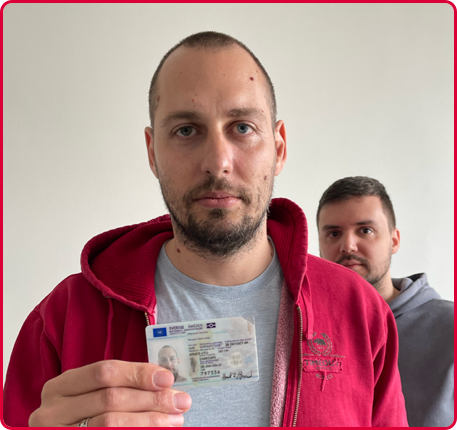
Your Photo Was Unclear
This is how to take a proper picture
- Photo must not be blurry or dark.
- You must be facing forward.
- Plain background and nobody else visible.
- Don’t cover your face or take photos of your ID document.
Activity Check – Cards
You must be alone during the activity check
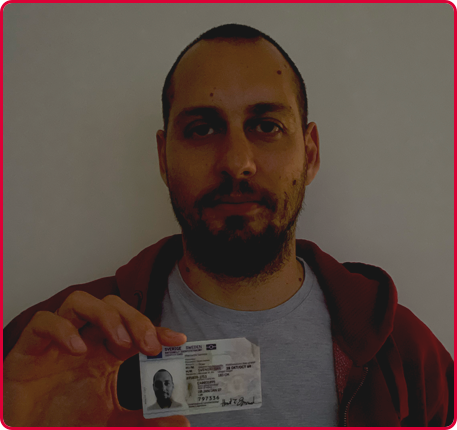
Make sure there is enough light so that your face and ID document are visible
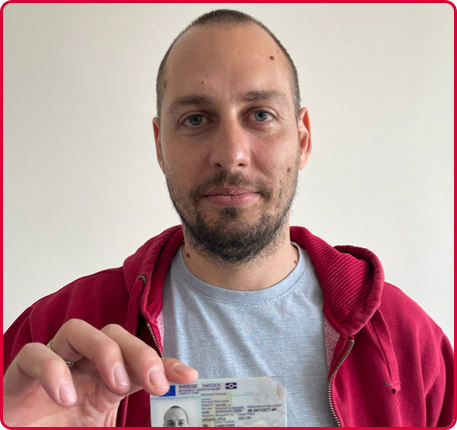
Don’t cutt off a part of your ID document. It must be visible the entire time
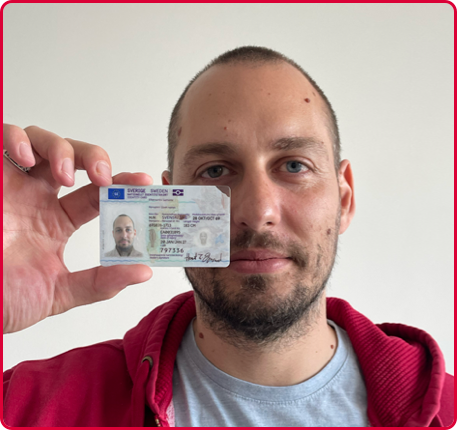
Don’t cover your face or a part of your face with your ID document
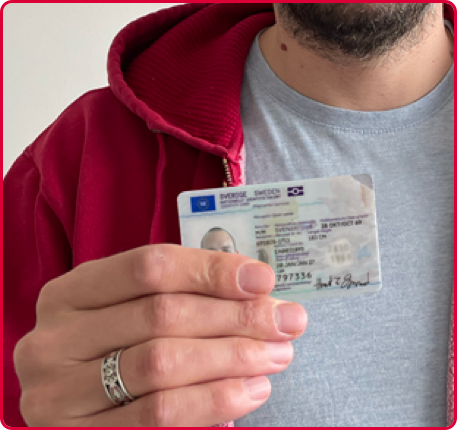
Don’t cover any part of your ID document. It must be visible the entire time
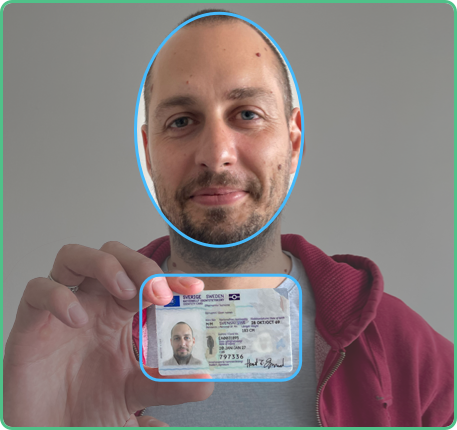
This is the correct way of doing it
You must be alone during the activity check
Make sure there is enough light so that your face and ID document are visible
Don’t cut off a part of your ID document. It must be visible the entire time
Don’t cover your face or a part of your face with your ID document
Don’t cover any part of your ID document. It must be visible the entire time
This is the correct way of doing it
Use the same document during the whole registration process
1. If you start onboarding with a national ID…
2. …then finish onboarding with a national ID
1. If you start onboarding with a national ID…
2. …then finish onboarding with a national ID
Activity Check – Passport

You must be alone during the activity check

This is the correct way of doing it
You must be alone during the activity check
This is the correct way of doing it